
.
Its been quite some time since I've posted....still been making cards, though! Here's a gallery of some of my favorites and some that offer a different twist, hope you like them.

I was amazed at how just a simple stamp on some dsp with punched strips under made such a pretty card.

After a fabulous first season for my daughter cheer-leading, I found this digi stamp at Sweet & Sassy Stamps & fun exploding fold to let all the girls show their appreciation.


What better way to celebrate a teen who loves to twist & turn on the trampoline than a birthday card that does the same. This is my try at the Tri-fold with a Twist. The toughest part of this design was being sure the stripes were going the right way before cutting & gluing. The sentiments are computer journals, the front used a digi frame found here. Originally used the frames for book plates, found they come in handy!

Here's two fun techniques in one! I used a triple stamp layering
technique on a spring card. The front of this one actually opens for the
message inside, which makes for a slightly top-heavy card.
This was fun to make & I love the way
the lattice EF came out for the base with the Martha Stewart flowers
(stamp & punch set). I ended up adding some of the same water color
pencil to the edges of the flowers that I used in the main image.
 For this next card, I cased a technique I saw on Pinterest from Live Love Stamp. Didn't make mine shadowed, but did ink the edges & really like the way the stamp flows from one tile to another.
Still working on using a fine line with glitter, but do like the way the sentiment came out with the embossing. Stamp is from Hot off the Press - Heart to Heart Greetings.
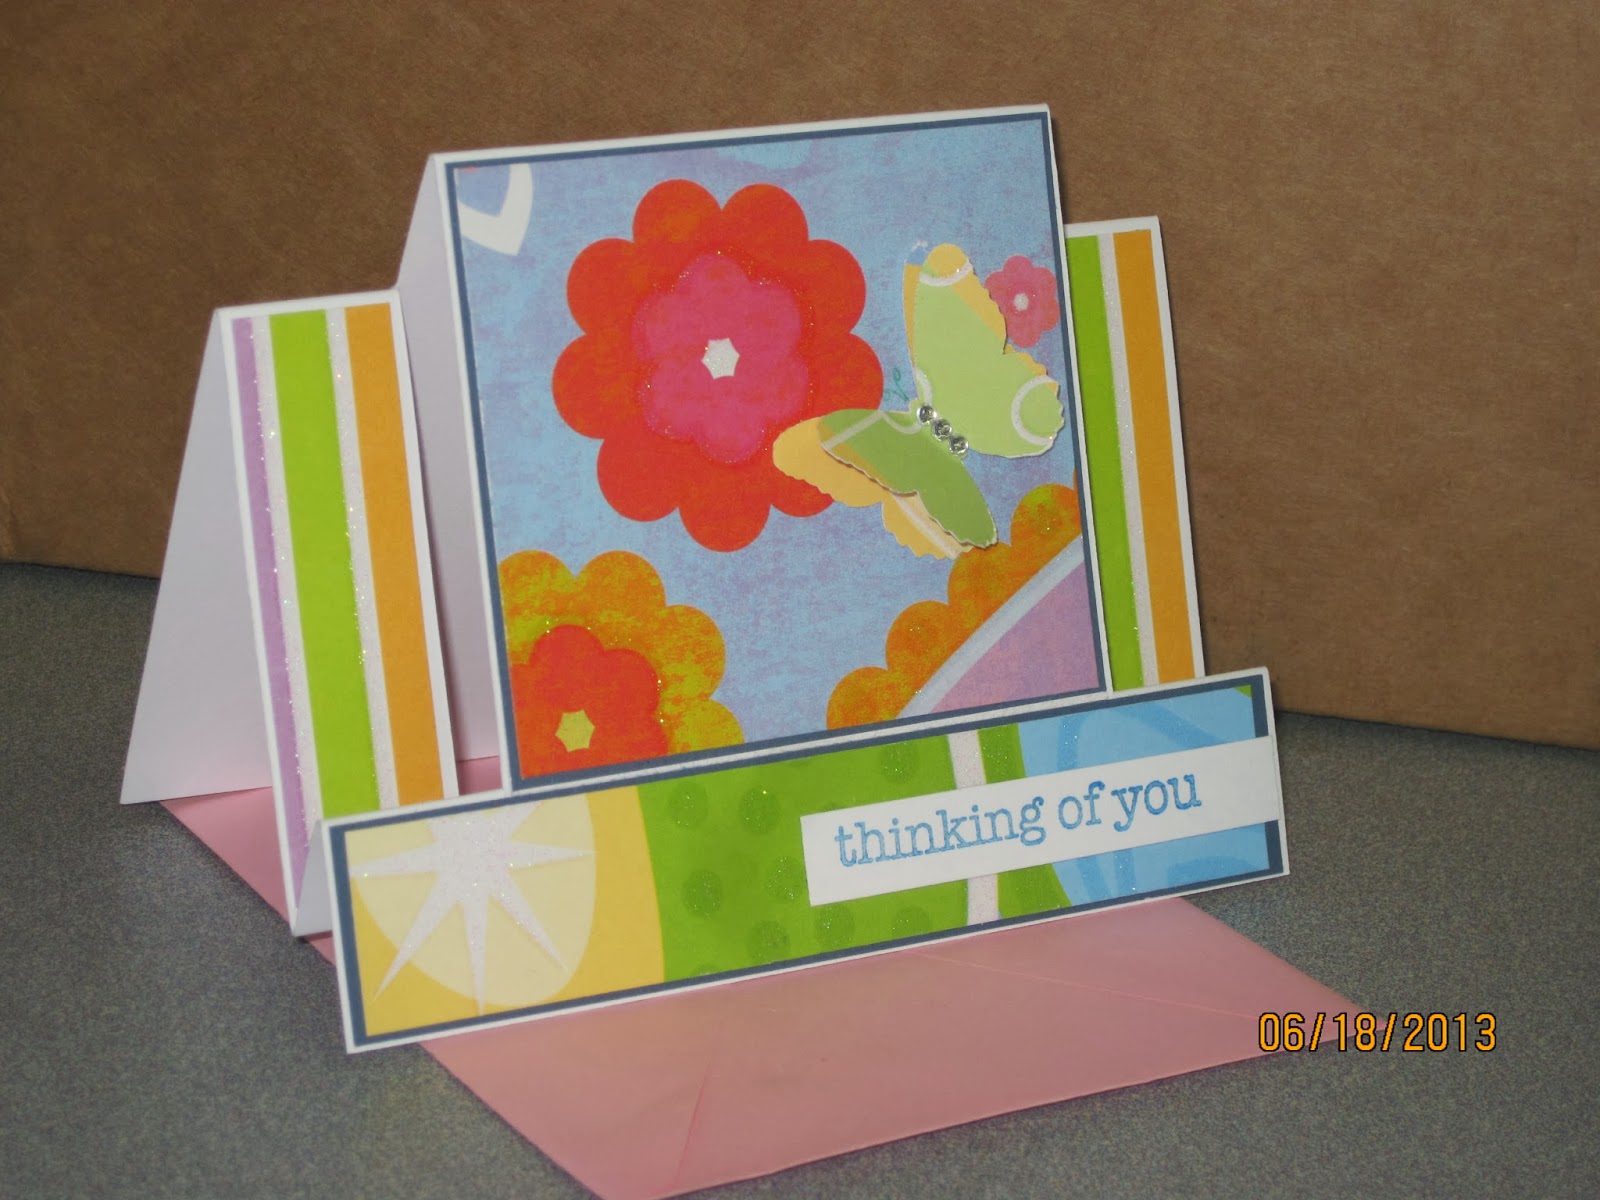
 ...and this one? Well, its simple, but just plain pretty. I used a printed cardstock then made the band with a MS border punch. Love the butterfly, it was die cut from another piece of printed stock.
That's it for now, will be posting more soon. Thanks for taking a look!
