Tuesday, July 15, 2014

Birthdays

So many birthdays... they come, they need cards... some get there on time, others not so much. No matter when they arrive, hopefully the recipients realize I've put time into thinking about them while making their one of a kind card.

Here are some examples of what I've done over the last year or so..

      I  like the idea of using the vacated image from using a die, here I've used a branch die & then mirrored it from piece I'd already cut out.
 Box cards are all the rage right now... I really enjoy making them too. 

This one, I made for my daughter, who turned 12 recently,  to help highlight the many delightful sides of her personality.


 Here's one I made for a niece who turned 16 recently. I really like making these popup boxes. Again, she is a multi-dimensional young lady, so I had to find a way to combine seemingly different styles. This time, I took a swirl stamp I have to decorate the relatively plain pink DSP. Echoing the swirls in the background & the gold paper, I used some bling swirls for a bit of pizazz.


 Want to make one? There are a TON of tutorials out there, here's the one I used: pop up box tutorial

Another fun card that seems to be circulating is the pull pop up card. Here's the tutorial I used from Splitcoast stampers: Surprise Pop Up Card/

This is a card I made for my nephew. It kind of has a Dr. Seuss  feel on this stamp. I colored it with pencils then highlighted the white with a gel glitter pen.


Here, I've opened it just a bit...


 ...And now all the way. You can see some hand drawn balloons peaking out from the tab pulling out. I used my water color pencils and blended with an aqua writer.

For the top panel with the cake, I used a spellbinders die to give it a neat outline. Being careful to only glue the center of the top panel so as not to glue it shut.
 For this card, I spent a lot of time mimicking the lattice design I dry embossed on the yellow background cs. I had to cut thin strips of the white stock & weave to create it. I used a larger piece of stock with a simple rectangle cut out to act as a frame. The front is propped up on dimensional dots.  

The butterflies are stamped & cut using a retired SU! set, Flight of the Butterfly. I've actually borrowed this one from a friend.


I even decorated the inside of this one (not something I do often) I just love this set!


 Here's the finished card

Another dimensional card.... a Pyramid card  


 For this one, I used this tutorial from Stamping Year Round.

The Happy Birthday is perched on some acetate I attached on the inside.

On the panel that is not secured, I used a fancy brad (apple since that was the academic side) to hold the card open / standing up. The sentiment is hand written inside.


This is for my father, who often wears Hawaiian shirts.  Its a criss-cross card with a couple of twists....

1) Rather than trimming off the top corner of both sides coming in, I scored them & folded them back - making the lapels.
2) Instead of securing both sides, I added a piece of velcro closure to the bottom front point so it could be opened & closed.


I used cloud white ink to stamp the image, then embossed with white powder.. The handwritten sentiment is with a gel pen.


And finally today, I'm sharing a card I made using Heartfelt Creations, Bella Rose Vintage Background Stamp. I used versamark ink, a mixture of copper & ancient gold embossing powders to heat emboss the stamp.

Then, I used my watercolor pencils (really like those things) to color in the large parts, leaves, flowers, butterfly....
I took my aqua blender and just lightly touched each area to blend the colors for a soft, painted look.

To back this, I used a lattice embossing folder on some shimmery cardstock. It didn't have enough shimmer though, so I added some versamark and some clear powder to give it just a smidge more sheen. That was backed by a light green cs and finally mounted on the card base.
I did use dimensional pads to lift the main panel off the card.

Hope I've inspired you to take on a new technique or two... Thanks for taking a look.


Graduations

Spring brings so much for everyone to do, including lots of graduations.
Here are a few of the cards I've made over the past couple of years....


 I made this for a friends son who was graduating from High School & heading right off to the army boot camp. The dog tags and eagle were digis from: digi ditto. Then I added the young man's name & a bit of inspiration before printing


For this next young man, he was heading from a High School with one color blue for a school color off to college with another blue school color. I liked the idea of bridging the two.


Now a different fold technique, a twisted easel card. I found this inspiration on Pinterest Twisted Easel/ I've tried to link to the original post, but it seems to have been deleted. I did find the card was made by Lyn Bernatovich. Thanks Lyn!

Anyway, this is my version.... my niece's school colors are Blue & Yellow. The card is 6x6, larger than I'd normally make, but I just prepared to mail in a larger envelope with some other things.

Here's a tutorial from another blog: http://www.card-making-magic.com/twistedeaselcard.html, just dry fold / fit everything so it opens the way you want it to.

I started with a 12x12 sheet of blue cs, then topped the top with the yellow on top of that I placed the
topper of blue.. to add some dimension, I simply scored the square in both diagonals before adhering.  To add some sparkle, I used the silver marbled foil cs. The sentiment stack is made from a spellbinders label. To make the larger one pop from the background, I embossed it with some gold using the Versamarker. The personal sentiment is tucked under the easel part.


Here it is closed & ready for mailing


A friend asked me to make a couple of cards for some twins she knew to be graduating... These are what I came up with. 

Using a Martha Steward border punch, I echoed the trim on the edge with a strip of plain stock at the folded edge.


For this one, I used a different border punch but added flowers. Using a fancy brad for the flower center adds a something different.


And now for the little ones....

    I made a set of these for my mother to give to the preschoolers she was reading to at her church nursery school. The owl & hat are two separate clip art images. I made the tassel with a piece of bakers twine attached with a tiny brad.


Thursday, January 2, 2014

Birthdays

For my niece, I took a step card and turned it on end. Then I die cut some butterflies and attached at the various folds. The 2nd largest is cut from vellum with all the rest sparked up with some glitter.


 For an older niece, I tried my hand at iris folding. I was glad to see there are so many patterns "out there" I had to adjust a bit, but it was worth it.


 Finally, here's my rendition of a Lego  card. I searched many ideas on Pinterest & Splitcoast stampers. Ended up with some rectangles, a whole punch, markers and a white gel pen. I raised the whole punches up on dimensional dots.


Here's one I did for my mother... its a 
 "magic card" as it stands on its own. The inspiration can be found here: http://stampartic.blogspot.com/2011/04/magic-card-tryllekort-tutorial.html 


Since both my sister & I make cards for our folks, and mom wants to savor each one, I thought she could use a nicely decorated box with divider cards inside.

I had a chance to get a really good deal on a label maker on Black Friday 2012. I don't use it every day, but when I need it, its great! That's how I named the tabs.


Wednesday, October 2, 2013


.

Its been quite some time since I've posted....still been making cards, though! Here's a gallery of some of my favorites and some that offer a different twist, hope you like them.


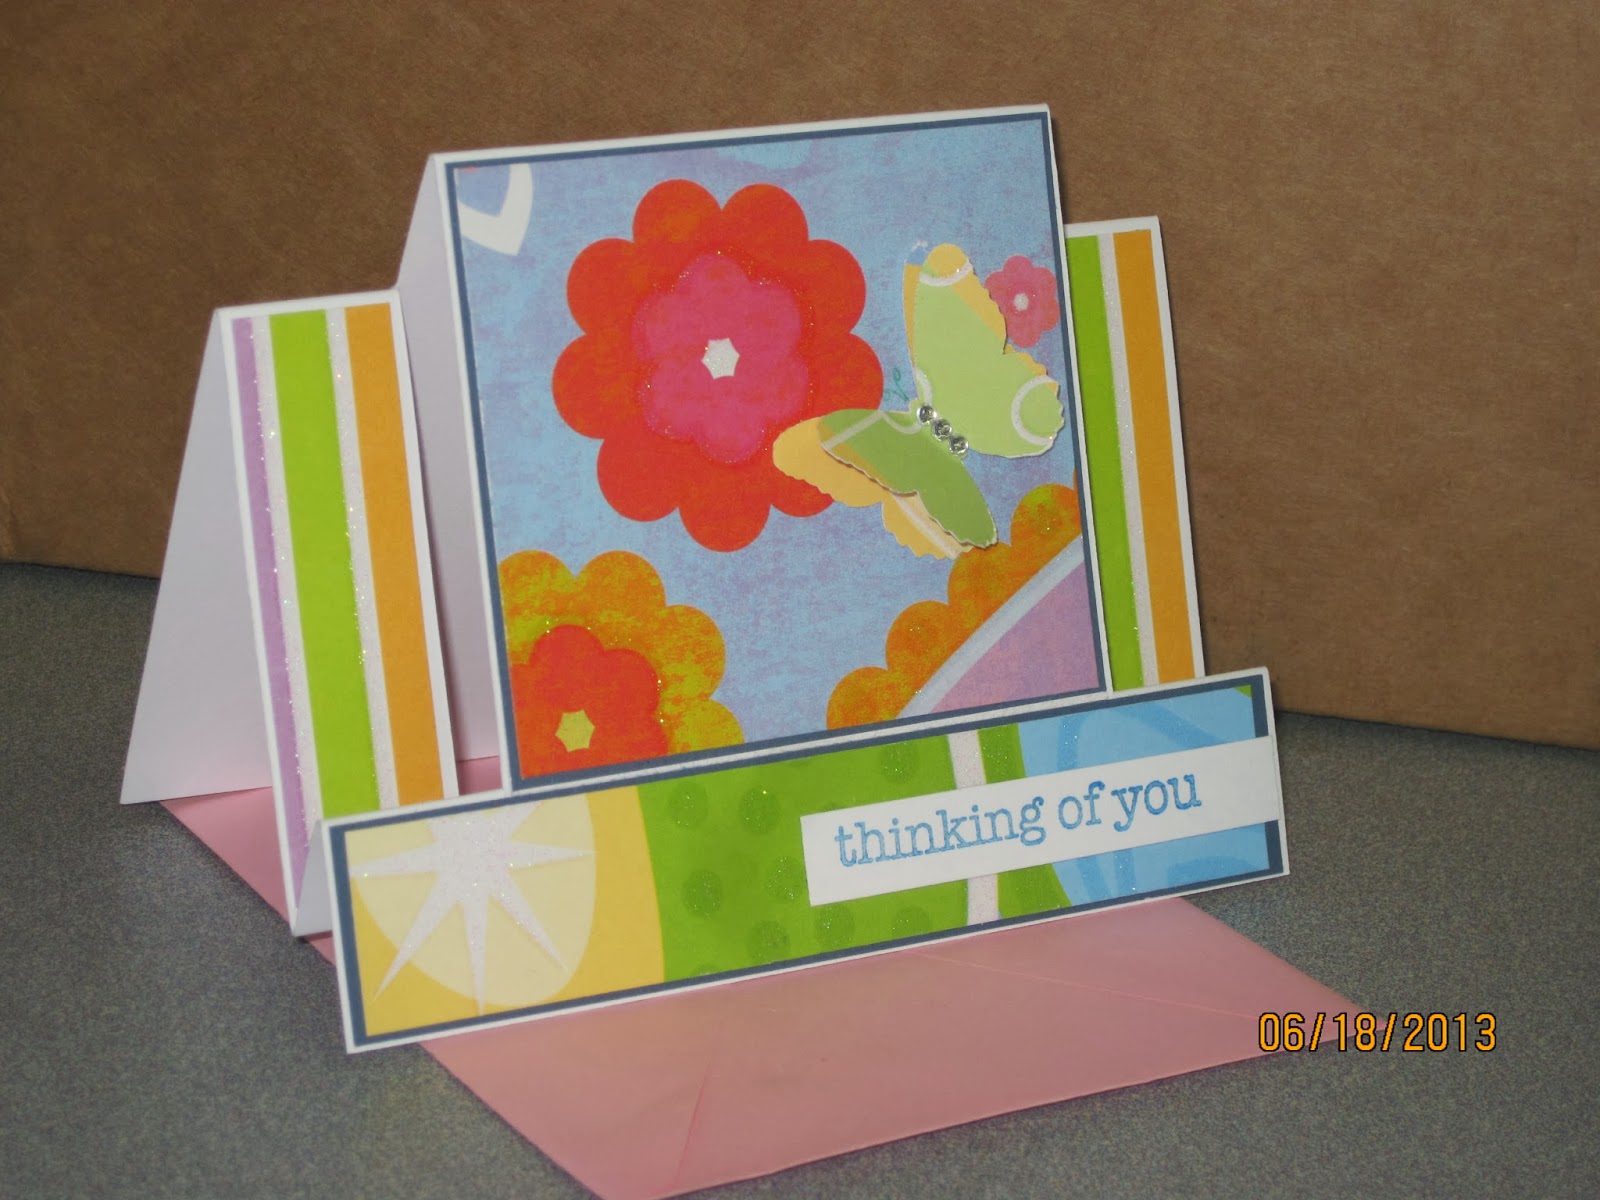
 This was made for a student I've worked with for several years who was moving over the summer. Thought bright & cheery! Tough to photograph the sparkle & the butterfly's dimension.

I was amazed at how just a simple stamp on some dsp with punched strips under made such a pretty card.


After a fabulous first season for my daughter cheer-leading, I found this digi stamp at Sweet & Sassy Stamps  & fun exploding fold to let all the girls show their appreciation.


What better way to celebrate a teen who loves to twist & turn on the trampoline than a birthday card that does the same.  This is my try at the Tri-fold with a Twist. The toughest part of this design was being sure the stripes were going the right way before cutting & gluing. The sentiments are computer journals, the front used a digi frame found here. Originally used the frames for book plates, found they come in handy!


Here's two fun techniques in one! I used a triple stamp layering technique on a spring card. The front of this one actually opens for the message inside, which makes for a slightly top-heavy card.

This was fun to make & I love the way the lattice EF came out for the base with the Martha Stewart flowers (stamp & punch set). I ended up adding some of the same water color pencil to the edges of the flowers that I used in the main image.


For this next card, I cased a technique I saw on Pinterest from Live Love Stamp. Didn't make mine shadowed, but did ink the edges & really like the way the stamp flows from one tile to another. 

Still working on using a fine line with glitter, but do like the way the sentiment came out with the embossing. Stamp is from Hot off the Press - Heart to Heart Greetings.


...and this one? Well, its simple, but just plain pretty.                                                                        I used a printed cardstock then made the band with a MS border punch. Love the butterfly, it was die cut from another piece of printed stock.                       

That's it for now, will be posting more soon. Thanks for taking a look!

Tuesday, January 8, 2013

Shaker

I am very intrigued by moving parts and different types of folds in card making. Since my sister also makes cards, I thought she'd be a good guinea pig for this one. Hopefully, she'll appreciate the attempt anyway.


I started with the stamped image I colored with my trusty watercolor pencils, just love the soft look!  

This next couple of steps go against the "should dos" but...I made it up as I went, so.... I cut the window in the main card; attached a piece of acetate to the back of the front; mounted the stamped image to the back side of the front of the card, using strips from around the pop-squares dimensionsals (instead of using foam tape, which I didn't have handy). If you try this, remember....

1) you need some space for things to shake inside, so be sure to use an adhesive with depth.
2) check the size of your shaking element, mine is just a bit too big, doesn't move too freely - although since it sticks a bit, its not ever all down at the bottom like finer glitter might be.
3) be sure to completely block all edges of the window - you don't want to loose your element in the envelope during mailing (or as they take it out!)
4) This is a dimensional card, so the top fold is actually two folds about 1/16th to 1/8th inch wide.

I like to finish the inside of the fronts too, so I cut a matching piece of the yellow card to cover that up, mounted on the back of the white stamped area.

ok, now to the out of order steps....
The gold cardstock seemed very blank, so I took a stamp, inked it up in slate grey, brought the window piece back in to protect the window, stamped once then turned it & stamped again. I kind of liked the way it wasn't perfect....to finish it off, added the ribbon, tucked behind the front, used another piece for the bow. Finally, I typically secure the tabs of the bow to keep it just right.

I'm thinking that it would make much more sense to stamp the front before adhering the stuff to the back, you know....a flatter stamping surface & all...seemed to work though.

Give it a try! Thanks for looking.

Wednesday, December 5, 2012

The Christmas Card Gift

When I began making cards, it was strictly something I did to express some creativity and love for people I sent to. I can't possibly buy gifts for the 60 or so on my list, but I can make 60 cards and think of all the people I send to as I create. 


This year I've been blessed by people appreciating my style to the point of asking for me to create cards for them to give or send.  Mostly its been requests for one card at a time. I find this challenging because I design around the recipients as I know them, and if I don't know them its kind of tough to do that. 

A while back, I showed some friends a design idea I had to get their feedback. One really seemed to like the concept & asked that I make her some cards to send out. When her plans changed, I still had the supplies & a start to a design I could see so......I took this opportunity to take a leap of faith and create the cards for our church bazaar.


Ok, for the recipe....5x7 card base; large green cs to anchor everything

The large tan cs is textured so I was sure to run it through the embossing folder with the texture up.  Within the frame opening, I used a slightly different green cs & then the focal - a reindeer stamped in chocolate brown on a very light green dp. Around the deer I stamped some snowflakes & the swirl in bronze then used embossing powder to give it just a little glow.

Truth be told, I did the embossed pieces first having made a template so to be sure my deer would fit within it....didn't want to have any stray embossed areas on the deer from the ink still being workable.

The lower portion echos the light green dp as a matting for the tan cs. I used the same chocolate brown for the sentiment. 

The big question then was, red nose or no red nose. It came down to red nose for the church bazaar and not for the gift for my friend. Plus, on the church set, I added a sheet of acetate to wrap the front - give it a more "shelf" look.

Here they are as a single card & then the accompanying set.


Thanks for stopping by.

Wednesday, November 21, 2012

Soft Stained Glass

I found out a few days ago that my Aunt's husband passed away earlier this month.  It wasn't unexpected, but still tough on her, I'm sure. Since its been a few weeks, I decided a traditional Sympathy card wasn't quite right. 

Looking through the paper stacks & stamps for some inspiration, I came across a book of Stained Glass Vellum papers from Hot off The Press...so now is the time to try something new. 

The papers come with a border of  stained glass look. Some are strips of a continuous image, some are divided into panes.

I chose to trim out the pane cutting carefully around the portion of the image that lays over the border.  Wanting to highlight the look, I matted it on a piece of water color paper, nice white & very subtle texture.
Next, had to pick the background papers, liked the look  of the shiny teal but it was just slightly too small for the card from on its own & then it looked to plain, even backed with the dark beige. Turning to the Cuttlebug, ran it through with an embossing folder that echoed a paned look, like stained glass....

Finishing it off with a simple sentiment stamped on the dark beige & then matted in a darker turquoise cs.  I hope it brings my Aunt some comfort...